

This project brings together glitter cardstock, holographic vinyl, and a floating shaker element to create a dimensional display that stands beautifully on its own. In this tutorial, I’ll walk you through the exact steps I used in my video — from pulling the project from the IdeaStudio Library to assembling the shaker and attaching the kickstand easel.
Ad
Project Overview
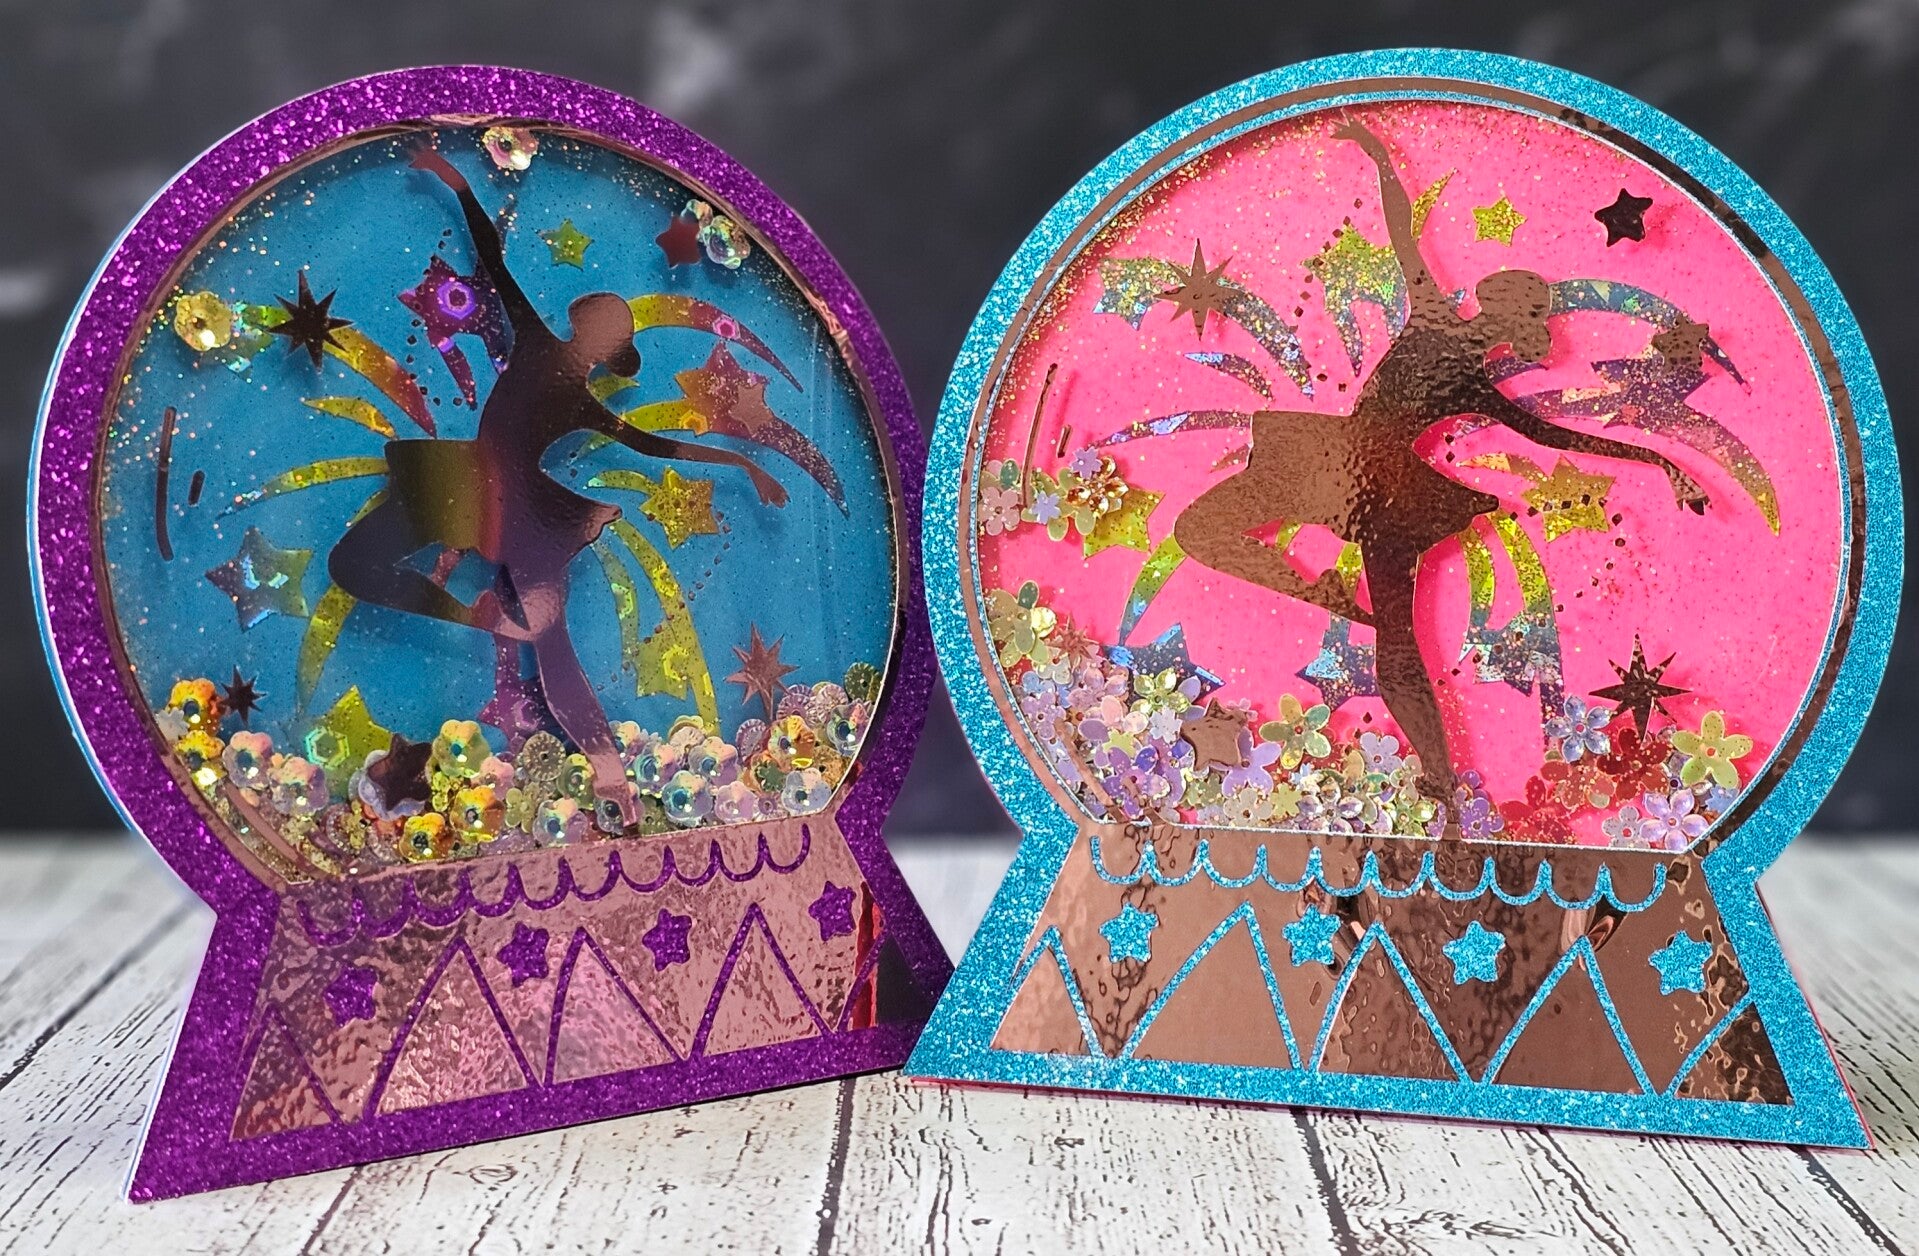
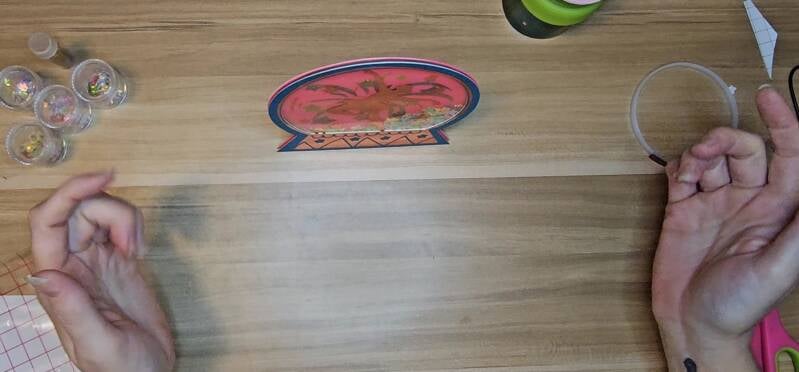
The Ballerina Snow Globe Shaker Display is built from layered cardstock, a clear acetate window, a vinyl ballerina silhouette, and a holographic fireworks backdrop. The shaker compartment is filled with glitter and sequins, and the finished piece stands upright thanks to a scored and folded easel made from glitter cardstock.
Materials
- HTVRONT Glitter Cardstock (front panel, back panel, kickstand easel)
- 176 GSM cardstock (fireworks layer)
- Rose Gold Permanent Adhesive Vinyl (ballerina accents)
- Holographic Rainbow Permanent Adhesive Vinyl (fireworks)
- Clear acetate
- Double sided tape
- Double‑sided foam tape
- Glitter + sequins
- Glue stick
- Loklik iCraft cutting machine
- Scoring tool + fine‑point blade
Step‑by‑Step Tutorial
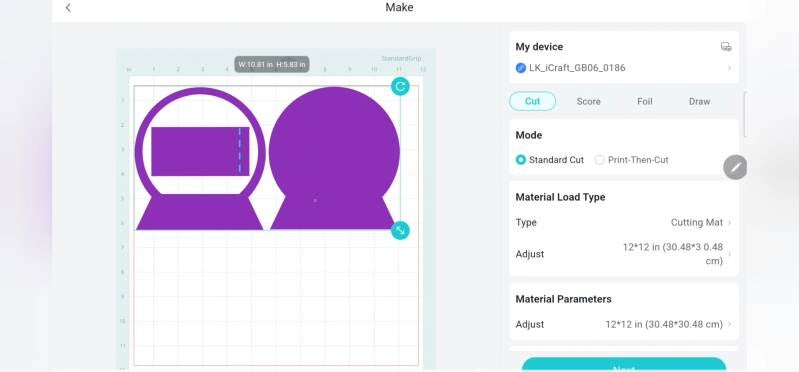
1. Open the Project in IdeaStudio
Go to the Loklik IdeaStudio Library and search for “ballerina snow globe shaker display” under the Projects section.

Open the project or add it directly to your Canvas by clicking Go Design.

2. Send Each Layer to the Task Bar
Set the correct material parameters and cutting parameters for each one so your cuts are clean and accurate.
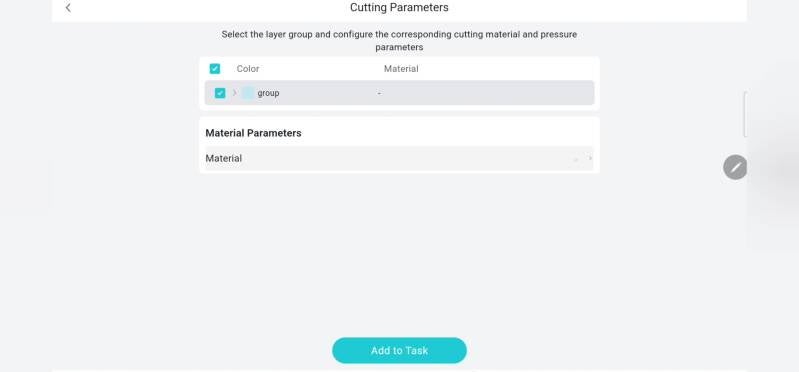
Select each layer and add it to the task list.

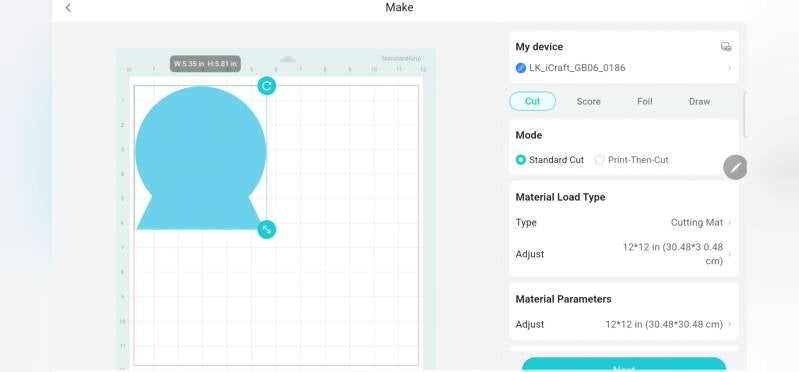
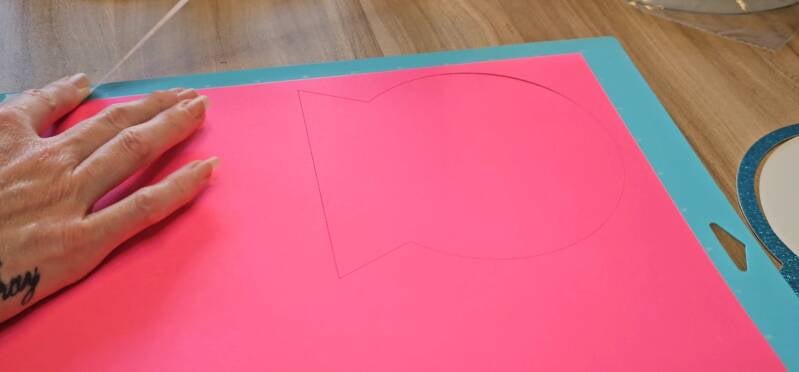
3. Cut the Cardstock Layers
Cut the standard cardstock layer (the fireworks backing) using 176 GSM Cardstock settings.

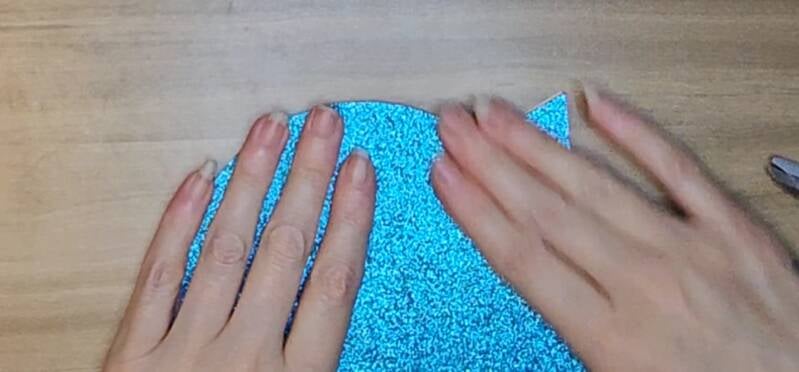
4. Score and Cut the Glitter Cardstock
The glitter cardstock makes up the front panel, back panel, and kickstand easel.
For the easel:
- Insert the scoring tool into the Loklik iCraft.

- Score the easel first.
- Replace the scoring tool with the fine‑point blade.
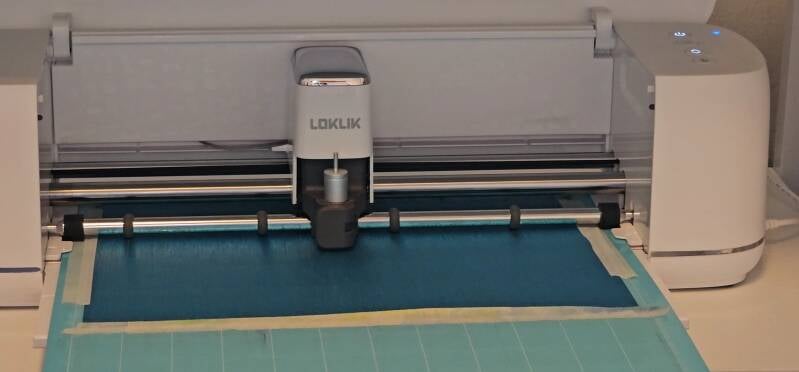
- Cut the easel and the remaining glitter cardstock pieces.
This ensures crisp folds and clean cuts without tearing the glitter surface.
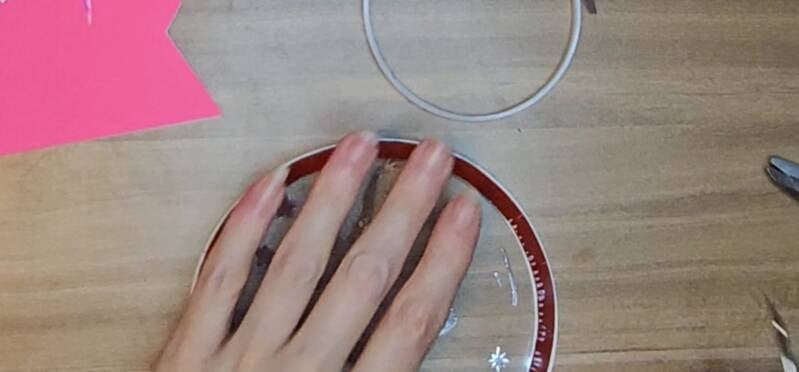
5. Attach the Acetate to the Front Panel
Add double‑sided tape around the inside edge of the front glitter panel.
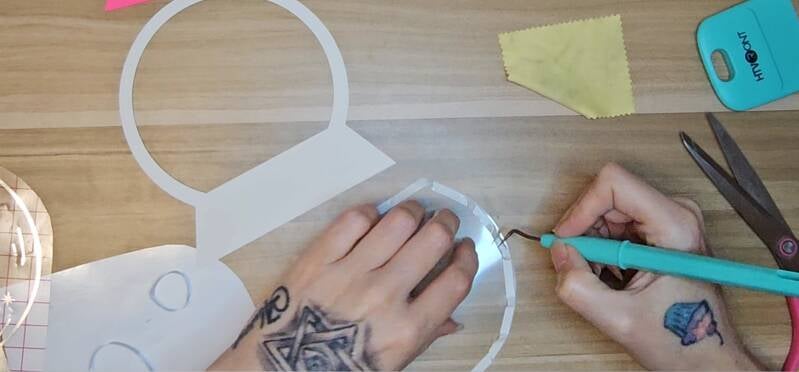
Press the acetate onto the tape to create the clear window for your shaker.

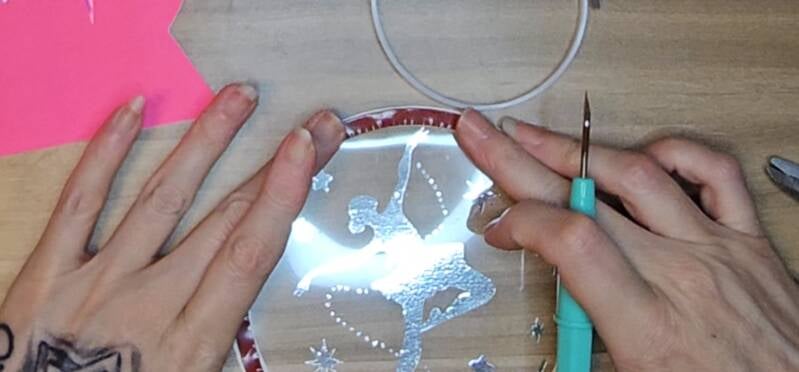
6. Add the Rose Gold Ballerina
Apply the rose gold vinyl ballerina so she sits partially on the glitter cardstock and partially on the acetate window. To make it easier to align, place your transfer tape with the design partially onto the vinyl backing sheet, align, then slowly peel the backing sheet away as you press the vinyl onto the panel. Burnish and remove the transfer tape.

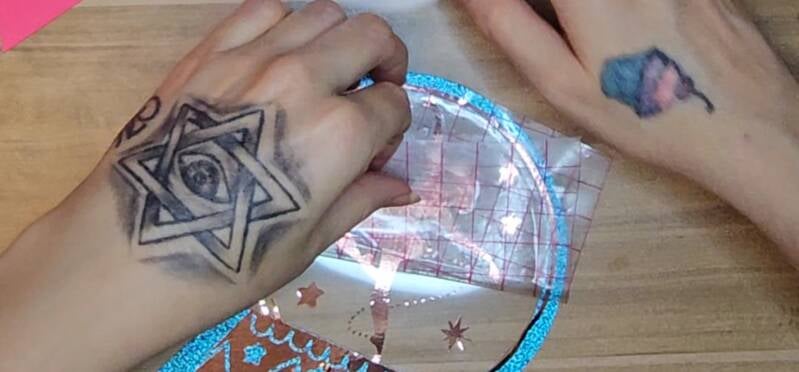
This gives her a floating, dimensional look inside the globe.
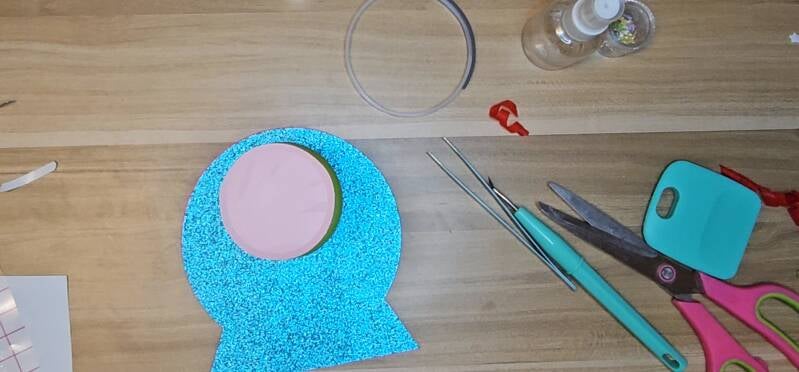
7. Apply the Holographic Fireworks Vinyl
Lay the front glitter panel over the 176 GSM cardstock piece so as to align the fireworks perfectly.
Lightly place transfer tape over the fireworks vinyl — just enough to lift the vinyl, not the cardstock.
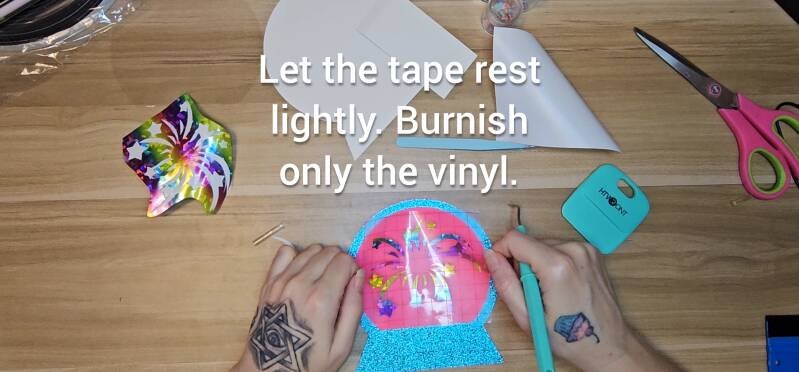
Press only the vinyl area so the transfer tape doesn’t tear, or pull up, the 176 GSM cardstock.
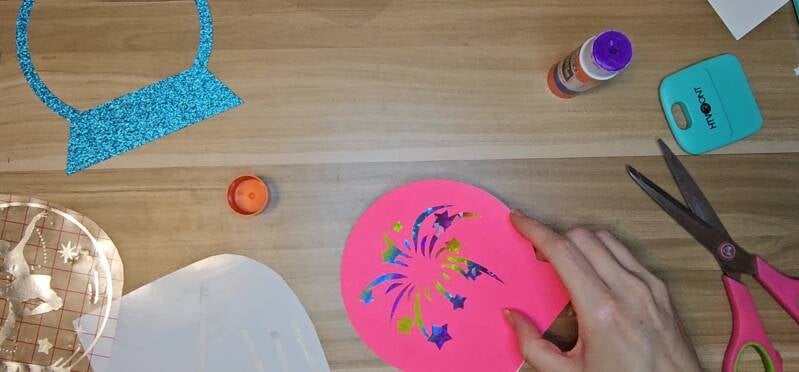
Apply the fireworks to the colored cardstock layer.

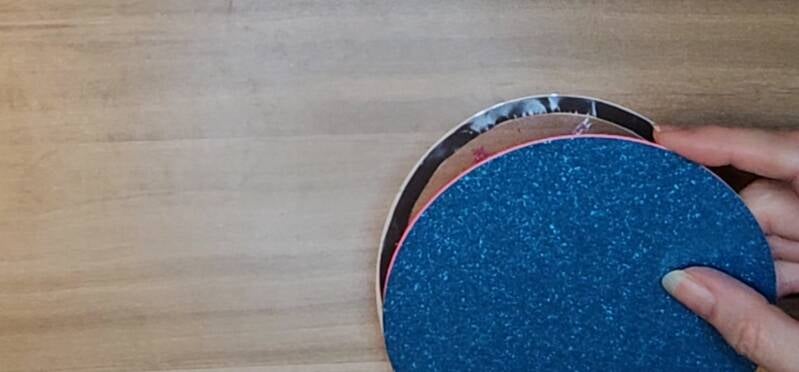
8. Glue the Fireworks Layer to the Back Panel
Use a glue stick to attach the fireworks cardstock to the glitter back panel.
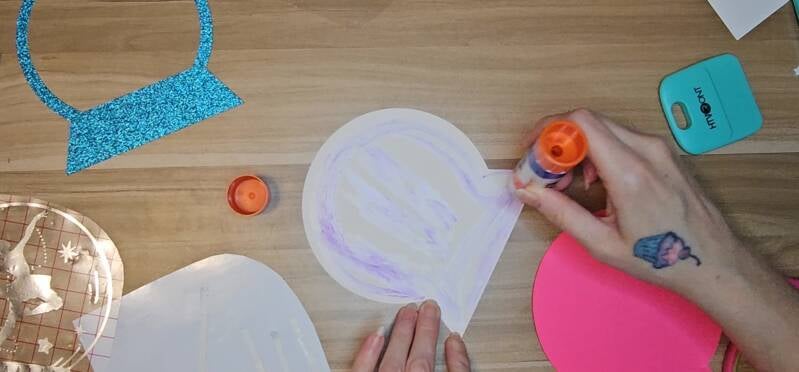
Keep the glitter side facing outward, since this becomes the back of your display.
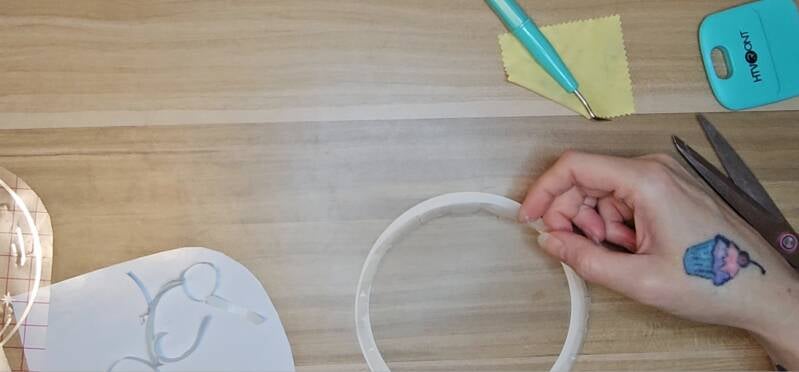
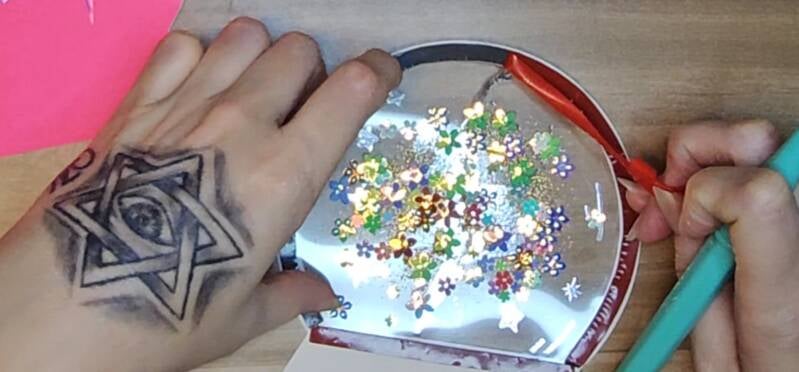
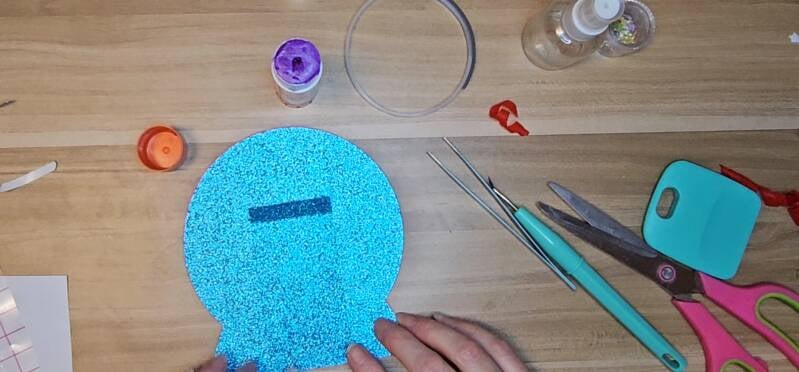
9. Build the Shaker Compartment
Add double‑sided foam tape around the acetate window on the front panel.
Make sure the foam tape forms a complete seal so no shaker pieces escape.
Add your glitter and sequins to the center.

Carefully peel the backing off the foam tape.
10. Seal the Shaker
Align the back panel (with the fireworks layer) perfectly over the foam tape.
Press firmly around the edges to seal the shaker compartment.
11. Assemble the Kickstand Easel
Fold along the scored line.
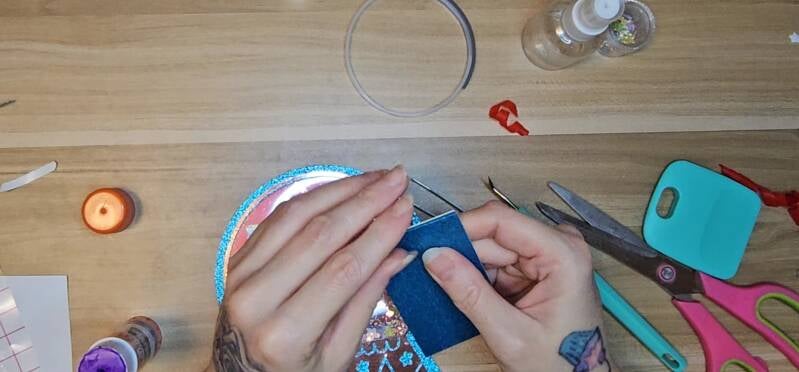
Add glue to the easel tab and attach it to the back of the snow globe.

Place something flat and weighted on top while it dries so it bonds securely.
Once dry, your display stands beautifully on its own.
Finished Result
You now have a glittering, dimensional ballerina snow globe shaker display — complete with floating sequins, holographic fireworks, and a sturdy easel for upright presentation.
Watch My Video Tutorial
Ad & Affiliate Link Disclaimer
Some posts on this blog contain affiliate links or advertising links. If you click through and make a purchase, I may earn a small commission at no additional cost to you. These commissions help support my creative work and the free resources I share with this community. I only recommend products and services I genuinely believe in and feel align with the heart of Sam’s Signature.
Add comment
Comments